If you’ve been on Pinterest (or running around a college campus) at all recently, you’ve probably noticed the ombre trend becoming insanely popular. First it was the ombre hair that was all the rage. Why have one color hair when you can have your hair fade smoothly from one color at the roots to a whole different color at the ends? It actually looks great- we’ve had several friends try it out successfully. Our brunette friends ombre to blond (can you use that as a verb?) and our blond friends have all the fun and ombre to colors like pink or blue.
If you’re up to dyeing your hair, we’re completely behind you! Thankfully though, the style gods have smiled down on those of us who have a mild phobia of commitment and delivered a less permanent way to get in on this fun trend: ombre nails. We were intrigued when we first saw them- nails that fade between two colors look awesome, but they can’t be that easy to paint, right? With instructions on how to do ombre nails and ombre nail tutorials practically running rampant all over Pinterest, we decided it was high time to call shenanigans on this popular Pinterest project.

First you’ll need to gather your supplies:
- wax paper
- two nail polishes that you think will blend well together
- a small sponge- we cut a piece out of a kitchen sponge, but we think that a cosmetic sponge would have worked much better
- nail polish remover and q-tips

Use your scissors to cut a small square (slightly bigger than your thumb nail) out of the sponge.

Paint your nails with a thin layer of the lighter nail polish color. After allowing it to dry, repeat.

Lay out a strip of wax paper on your table. Paint a generous amount of the lighter polish onto the wax paper.

Next to the light polish, paint a generous amount of the darker polish on the wax paper.

Use a toothpick or a q-tip you’ve broken in half to blend where the two colors meet. This polish will be what creates the ombre on your nail. If you want a slow fade between the colors, blend them well. If you want a more abrupt color change, blend them less.

Tap the sponge onto the now-blended nail polish.

Dab the sponge on each nail to achieve your desired ombre look. It may take you a couple tries to get the right movement down- we found that a tapping motion worked best. You may need to paint and blend more polish to add to the sponge before you do your second hand.

Your nails will look messy once they’re done! Just sit tight and let them dry.

Once the nails are dry, dip a q-tip in nail polish remover and use it to clean up the polish around your nails. Add a topcoat (or two) and you’re all done!
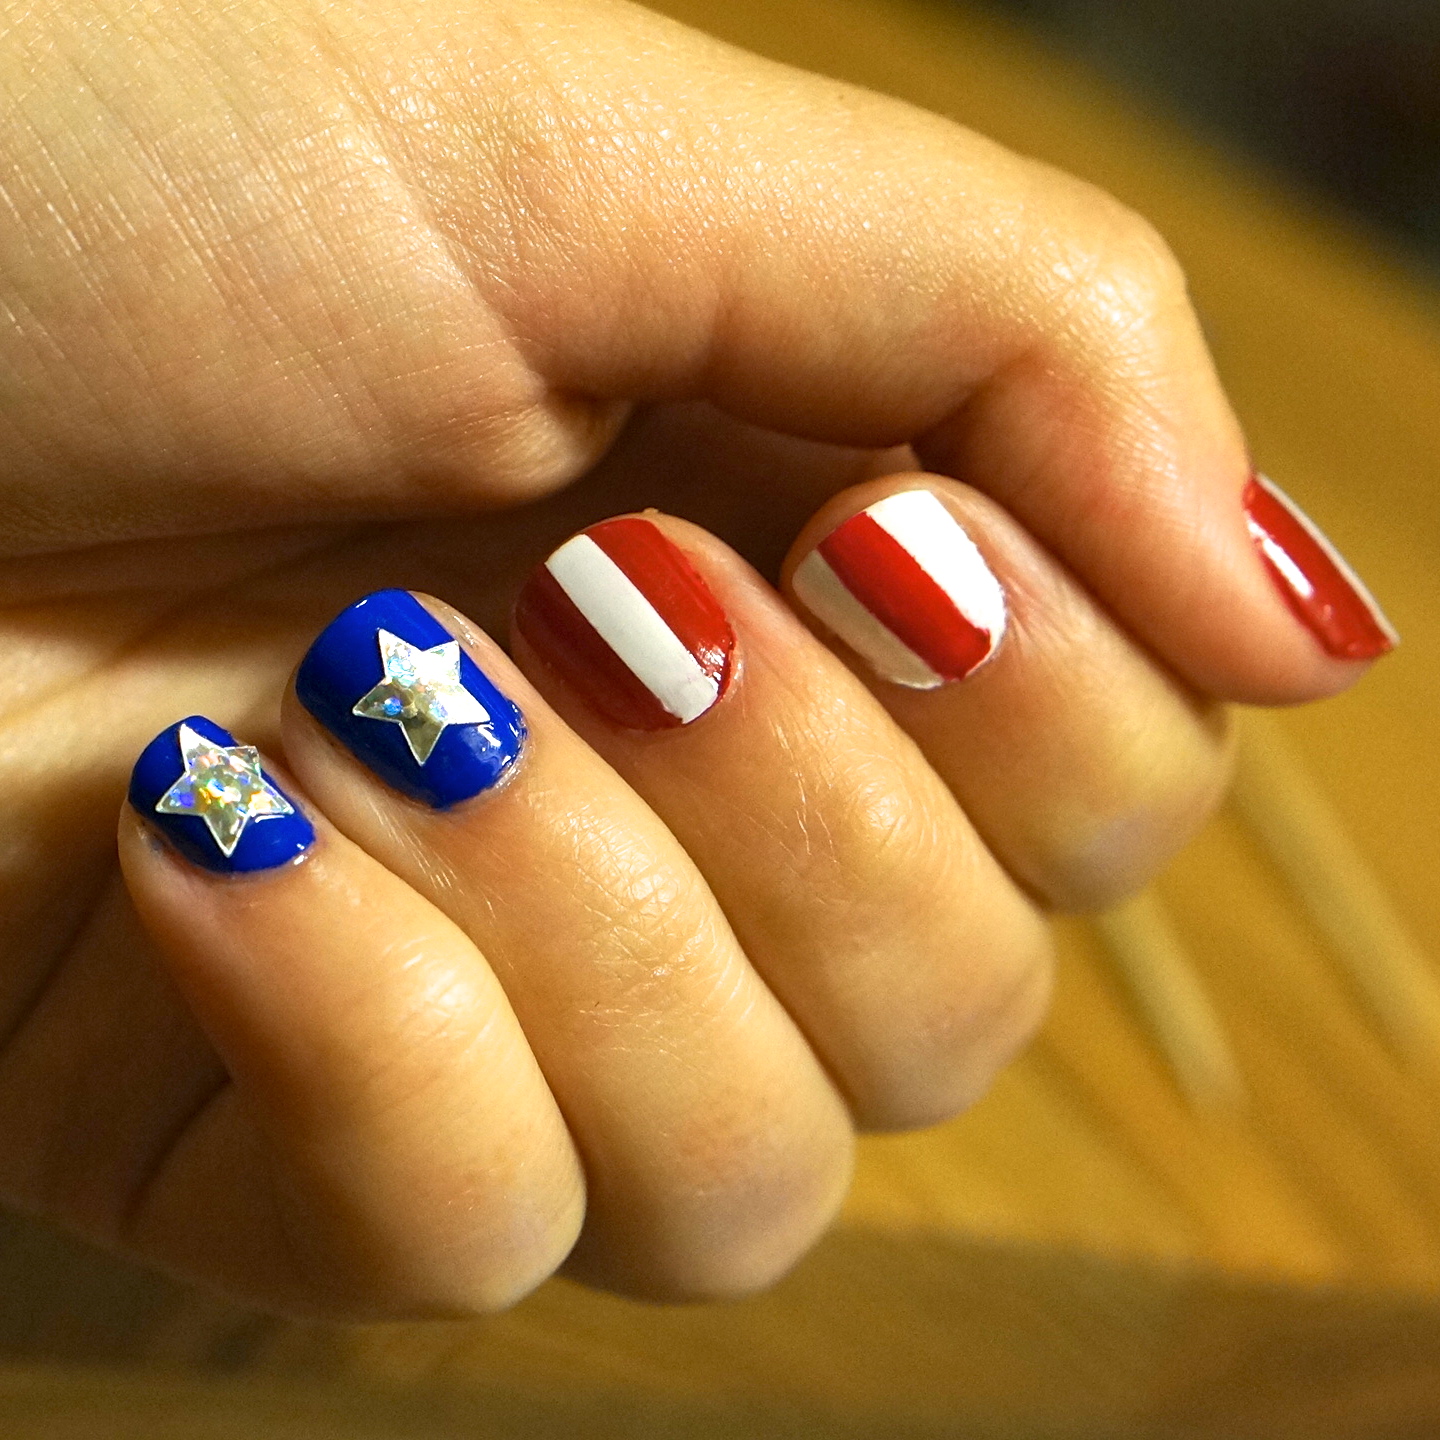
Overall, we were pleased with how this nail deign shenanigan turned out. Getting the ombre to turn out well using the kitchen sponge was a bit annoying, but we think it may be easier to use a cosmetic sponge. We suppose that’s a user error, but hey, thats why we do this stuff for you guys! Learn from our mistakes!
We think that this nail trend is really cute, and not too difficult to achieve. Plus the ability to customize your manicure goes through the roof. This style doesn’t only look great blending between two colors, but also from white to black, from matte to sparkly, or from clear to color. So let your imagination run wild! How will you customize your look?


Be sure to check out some of our other beauty shenanigans!
Fun color!! Wow! Nail color has really come a long way!,,
[…] Via Werecallingshenanigans […]
Wow, Awesome ! gotta try this. thx 😀